XPander App - Setup And Usage Guide
Welcome! This guide will help you get set up quickly and have know-how of the usage of the app. Our app expands original variants into standalone products. Our app makes products more discoverable, leading to higher average order values, higher returns on ad spend, and satisfied customers. The expansion duplicates the variants of a store and you have the ability to stock the sync with the parent product when a purchase is made.
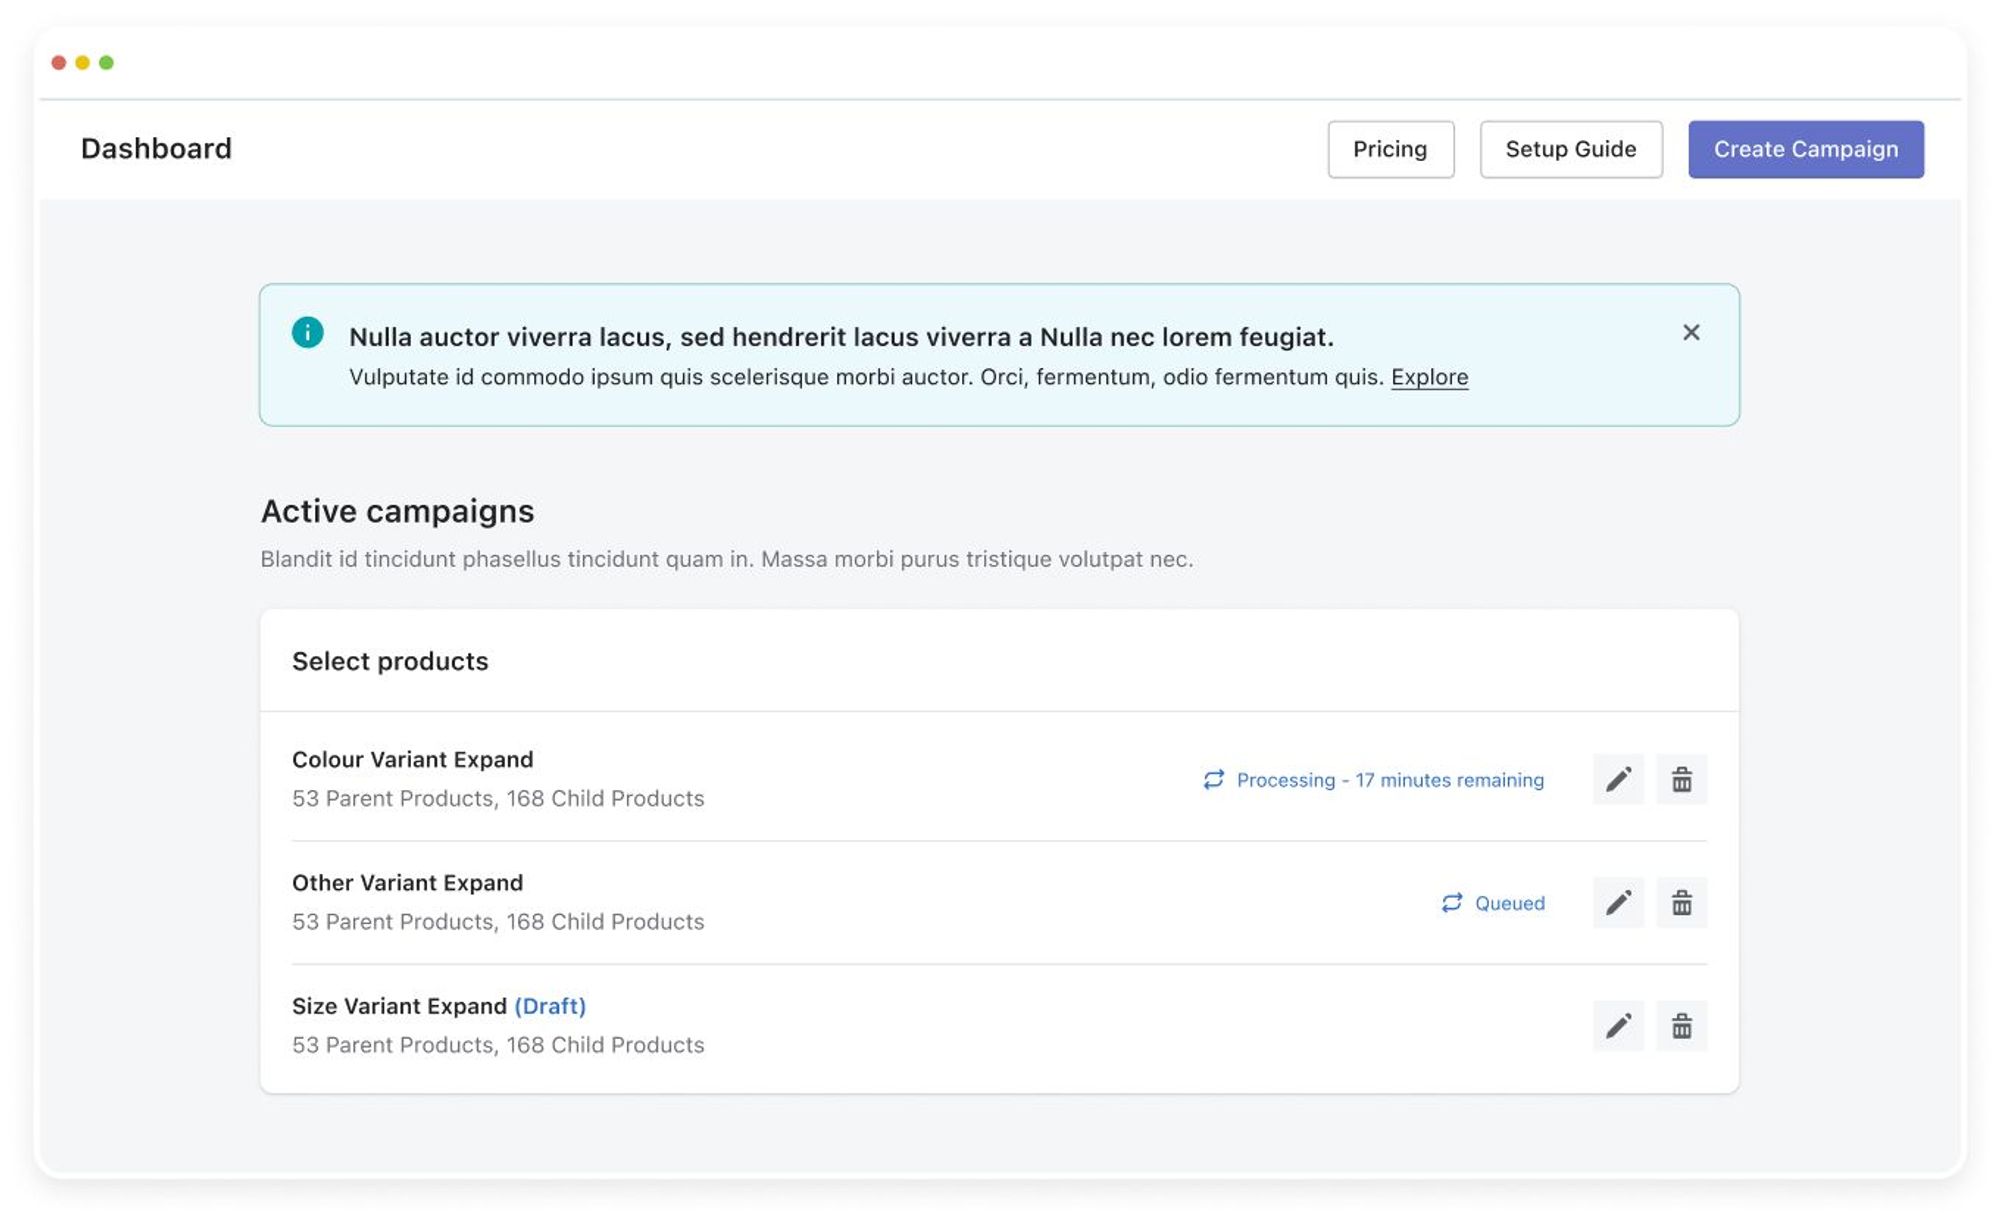
Launching a New Campaign
Step 1: Naming Your Campaign
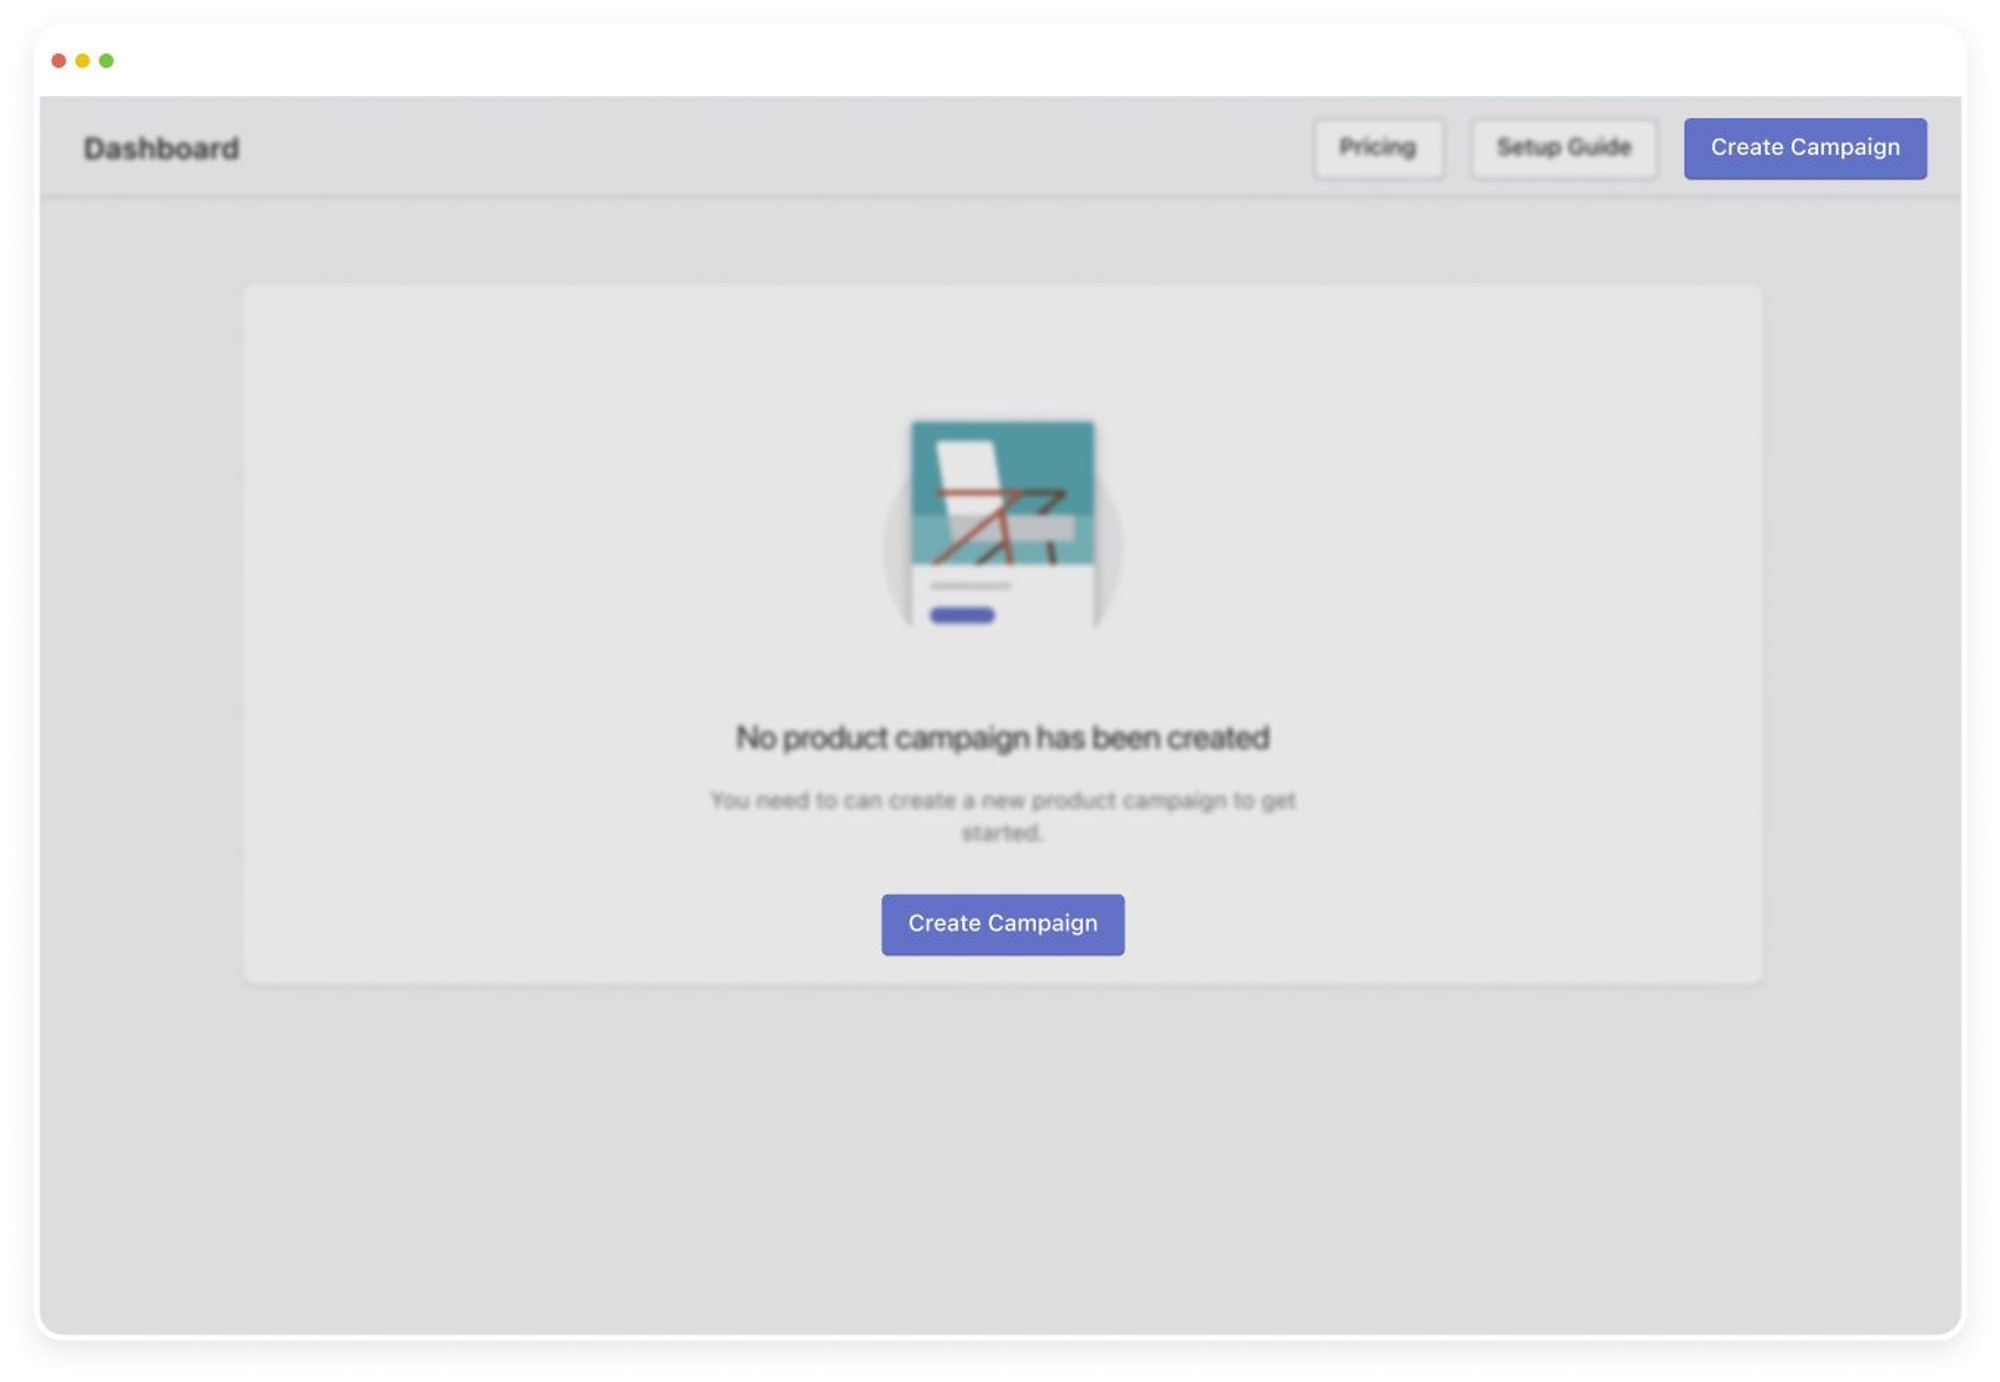
- Go to your app overview and click "Create Campaign" to initiate campaign setup.
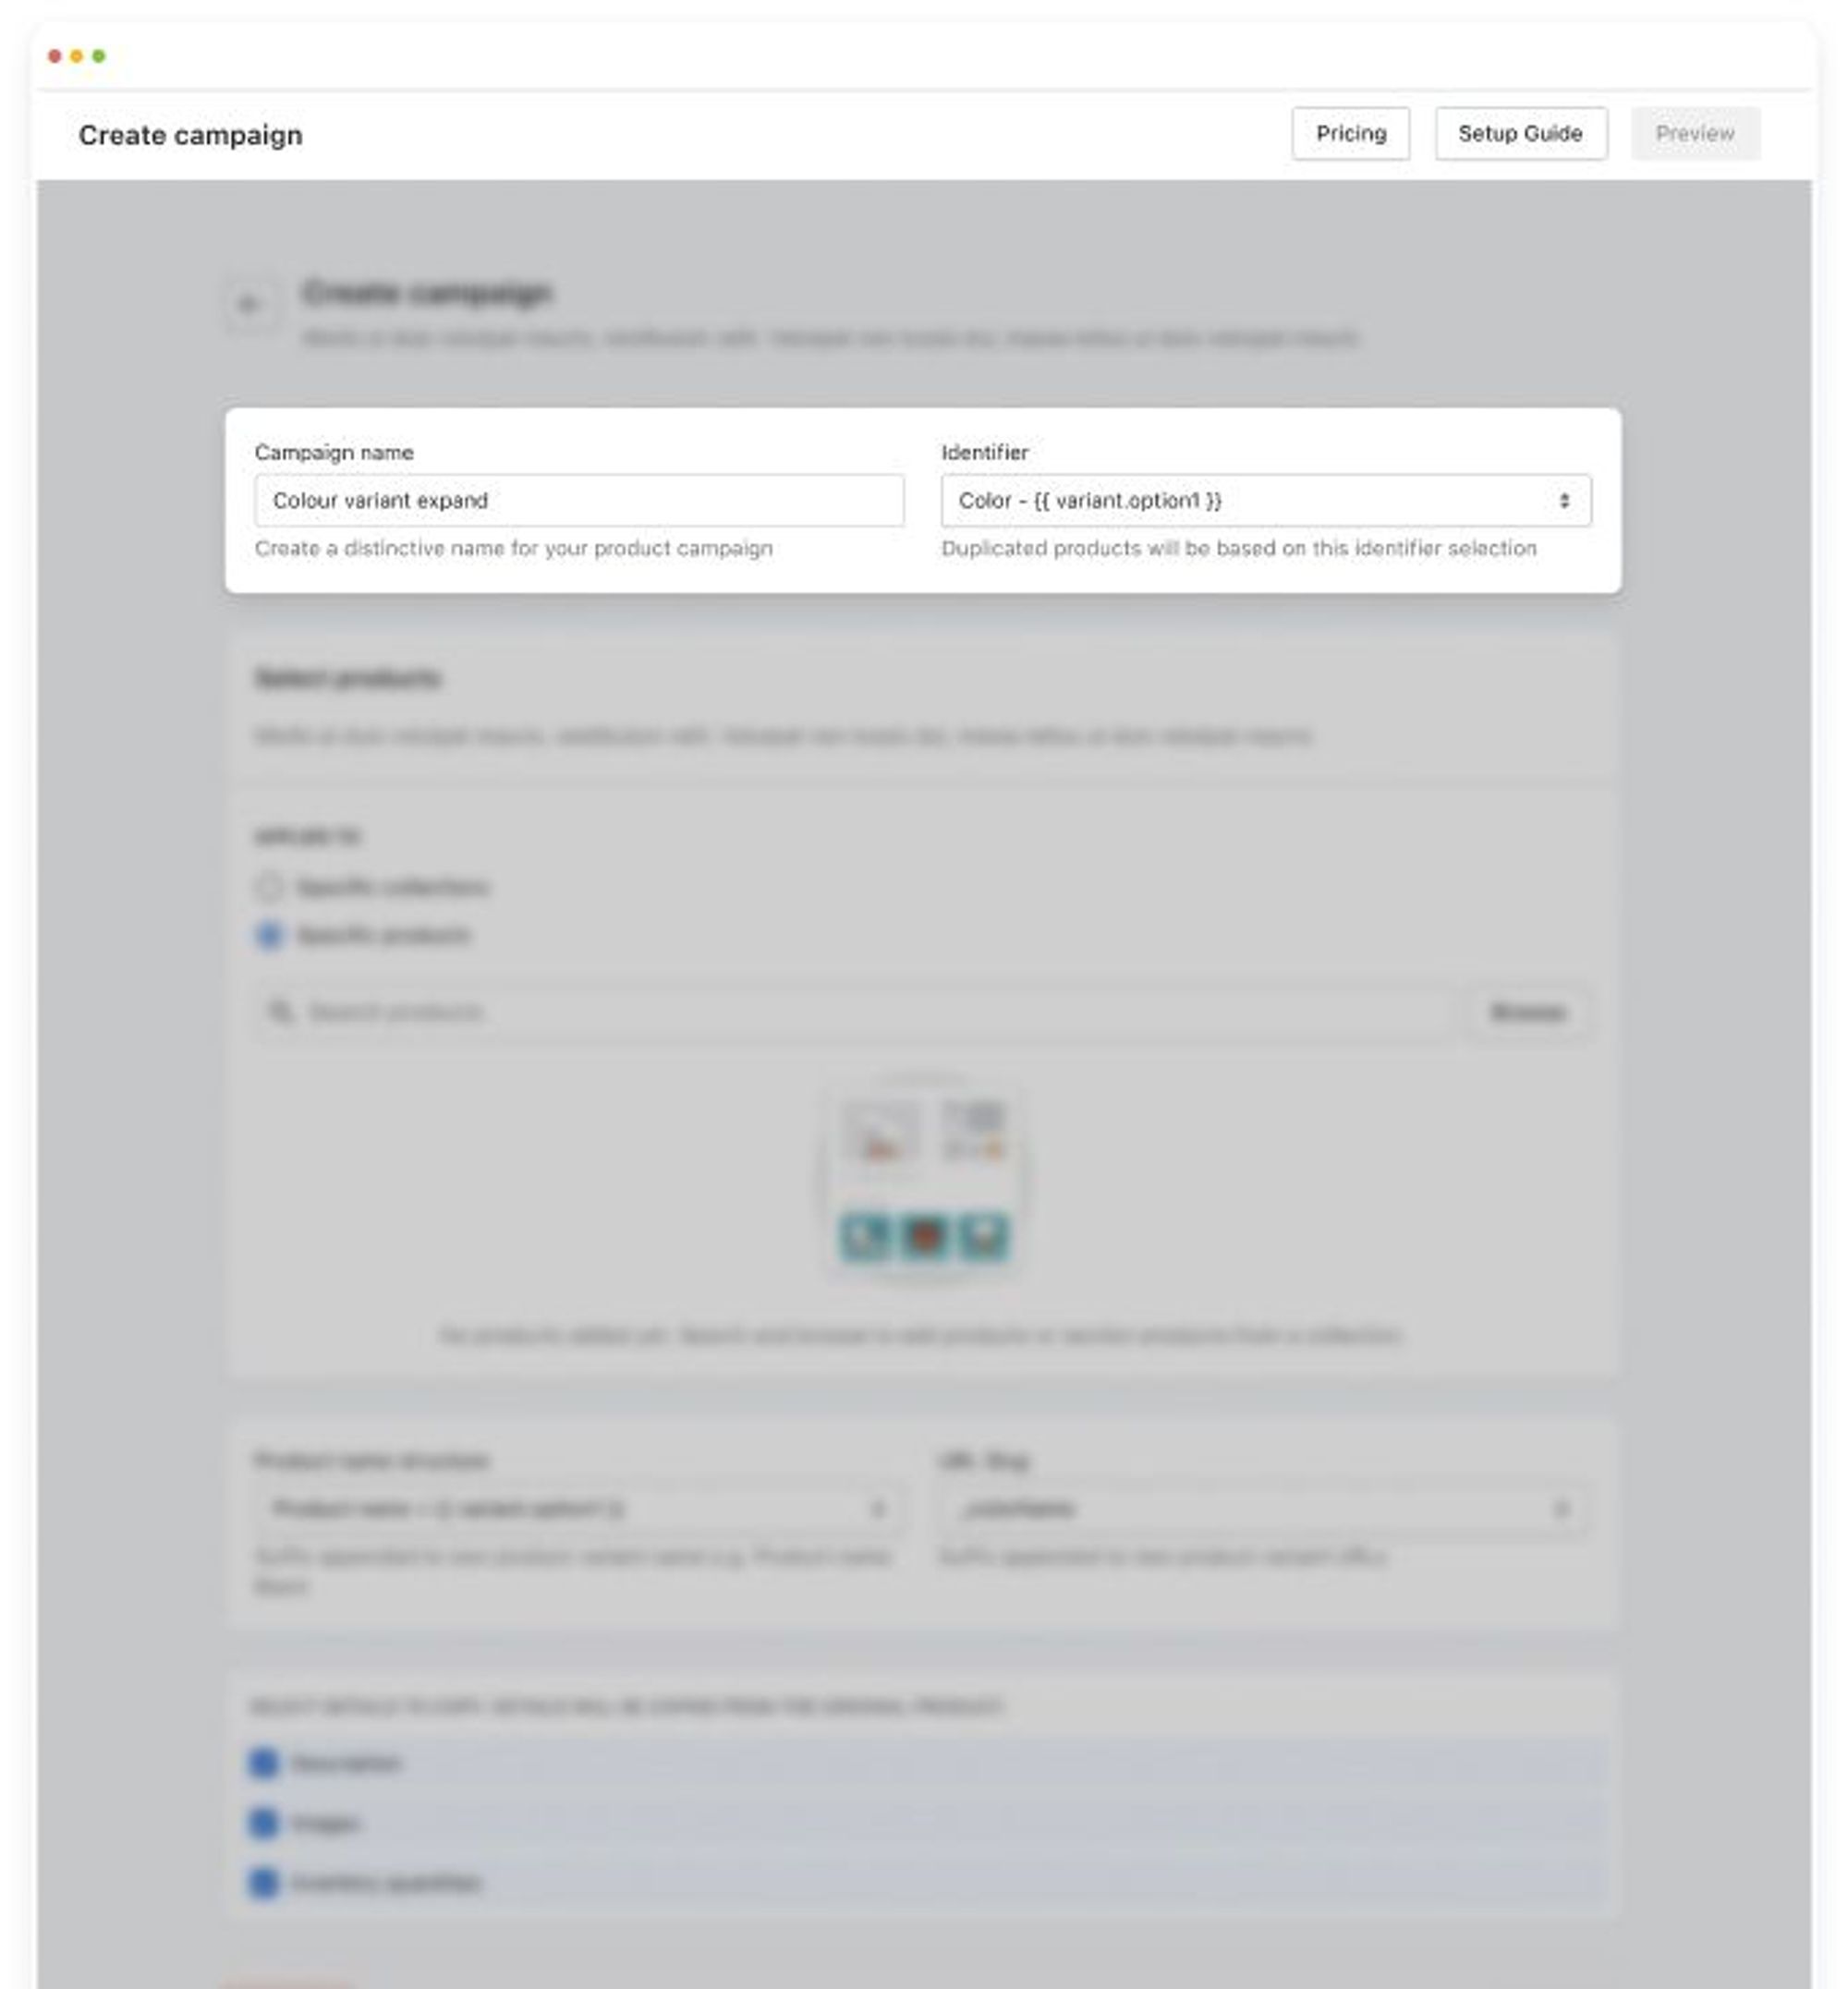
- Choose a descriptive name to easily identify your campaign.
Example: The name could be a collection or product name.
Step 2: Variant Selection
- Locate the Variant Option section next to your Campaign Name. This section displays a list of all variants from your store products.
- Pick the Variant Option you want to expand.
Example: If you select "Color", the app will expand all color options of a product into individual products, which will be synced with the parent product.
Step 3: Selecting products
Select products
- Specific collections (single or multiple collections supported)
- In this section, choose the products you want to expand by selecting "Selected Collections".
- Selected Products (single or multiple product selection available)
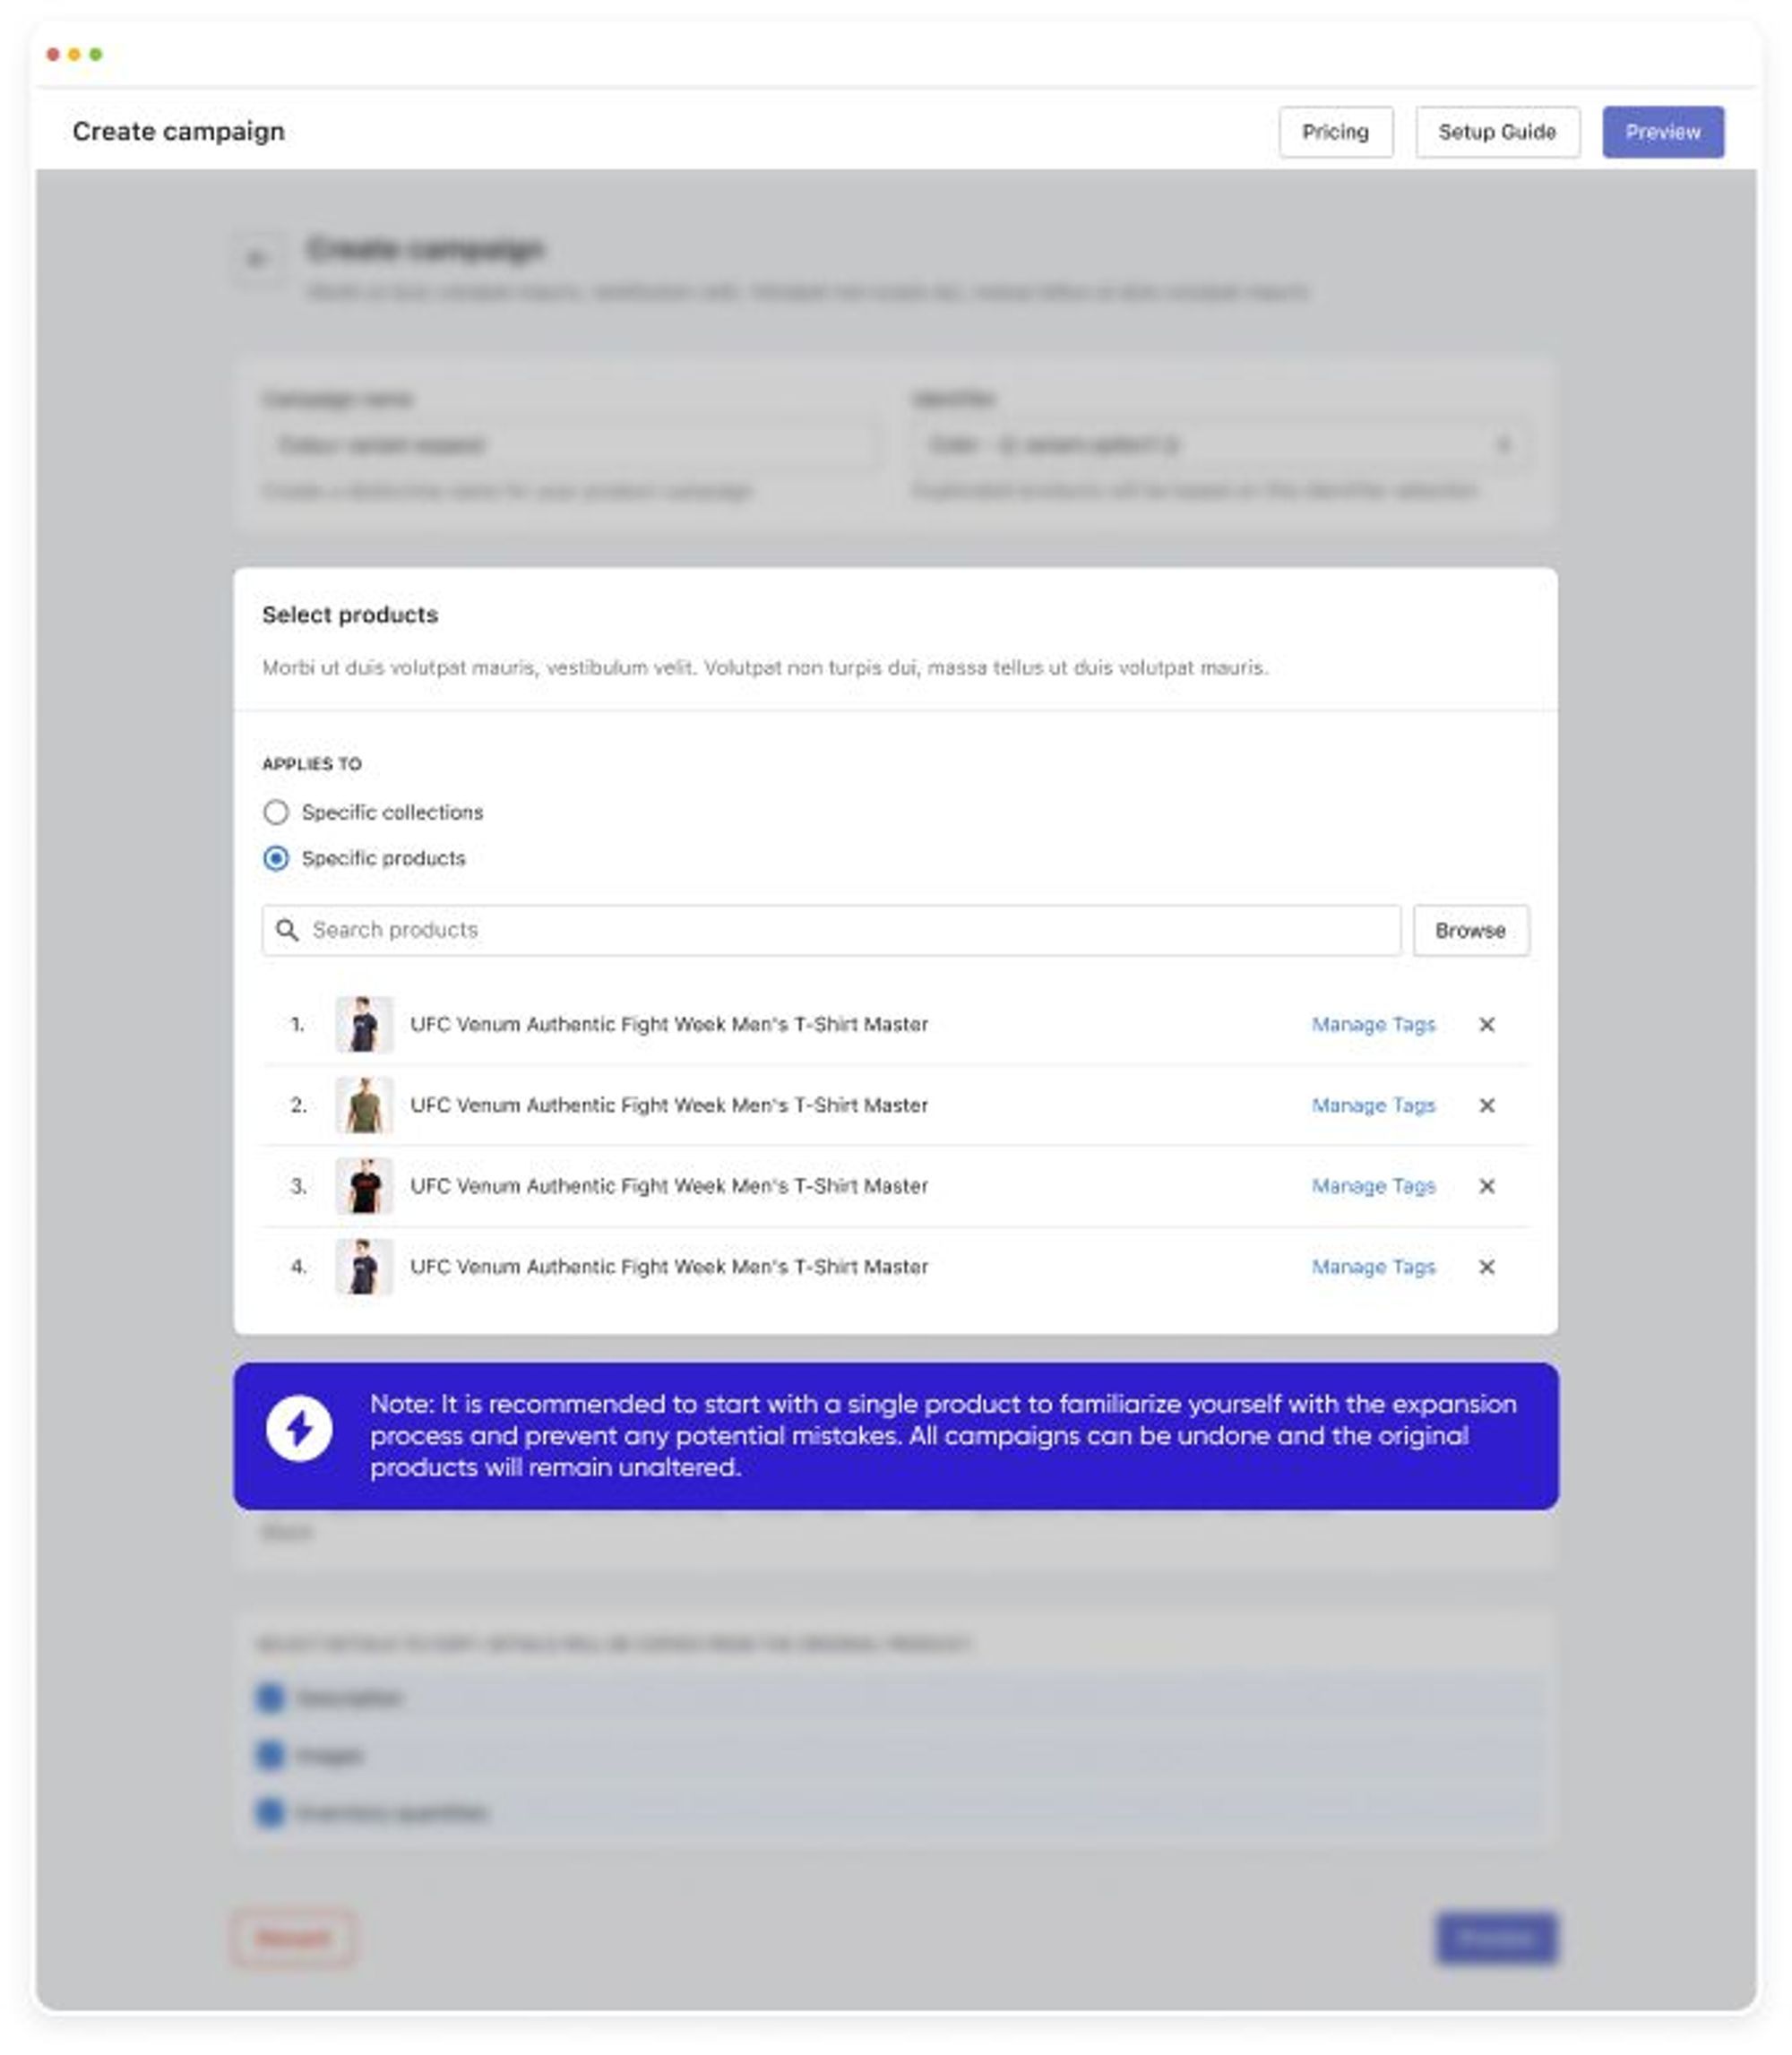
Note: It is recommended to start with a single product to familiarize yourself with the expansion process and prevent any potential mistakes. All campaigns can be undone and the original products will remain unaltered.
Step 4: Product name structure
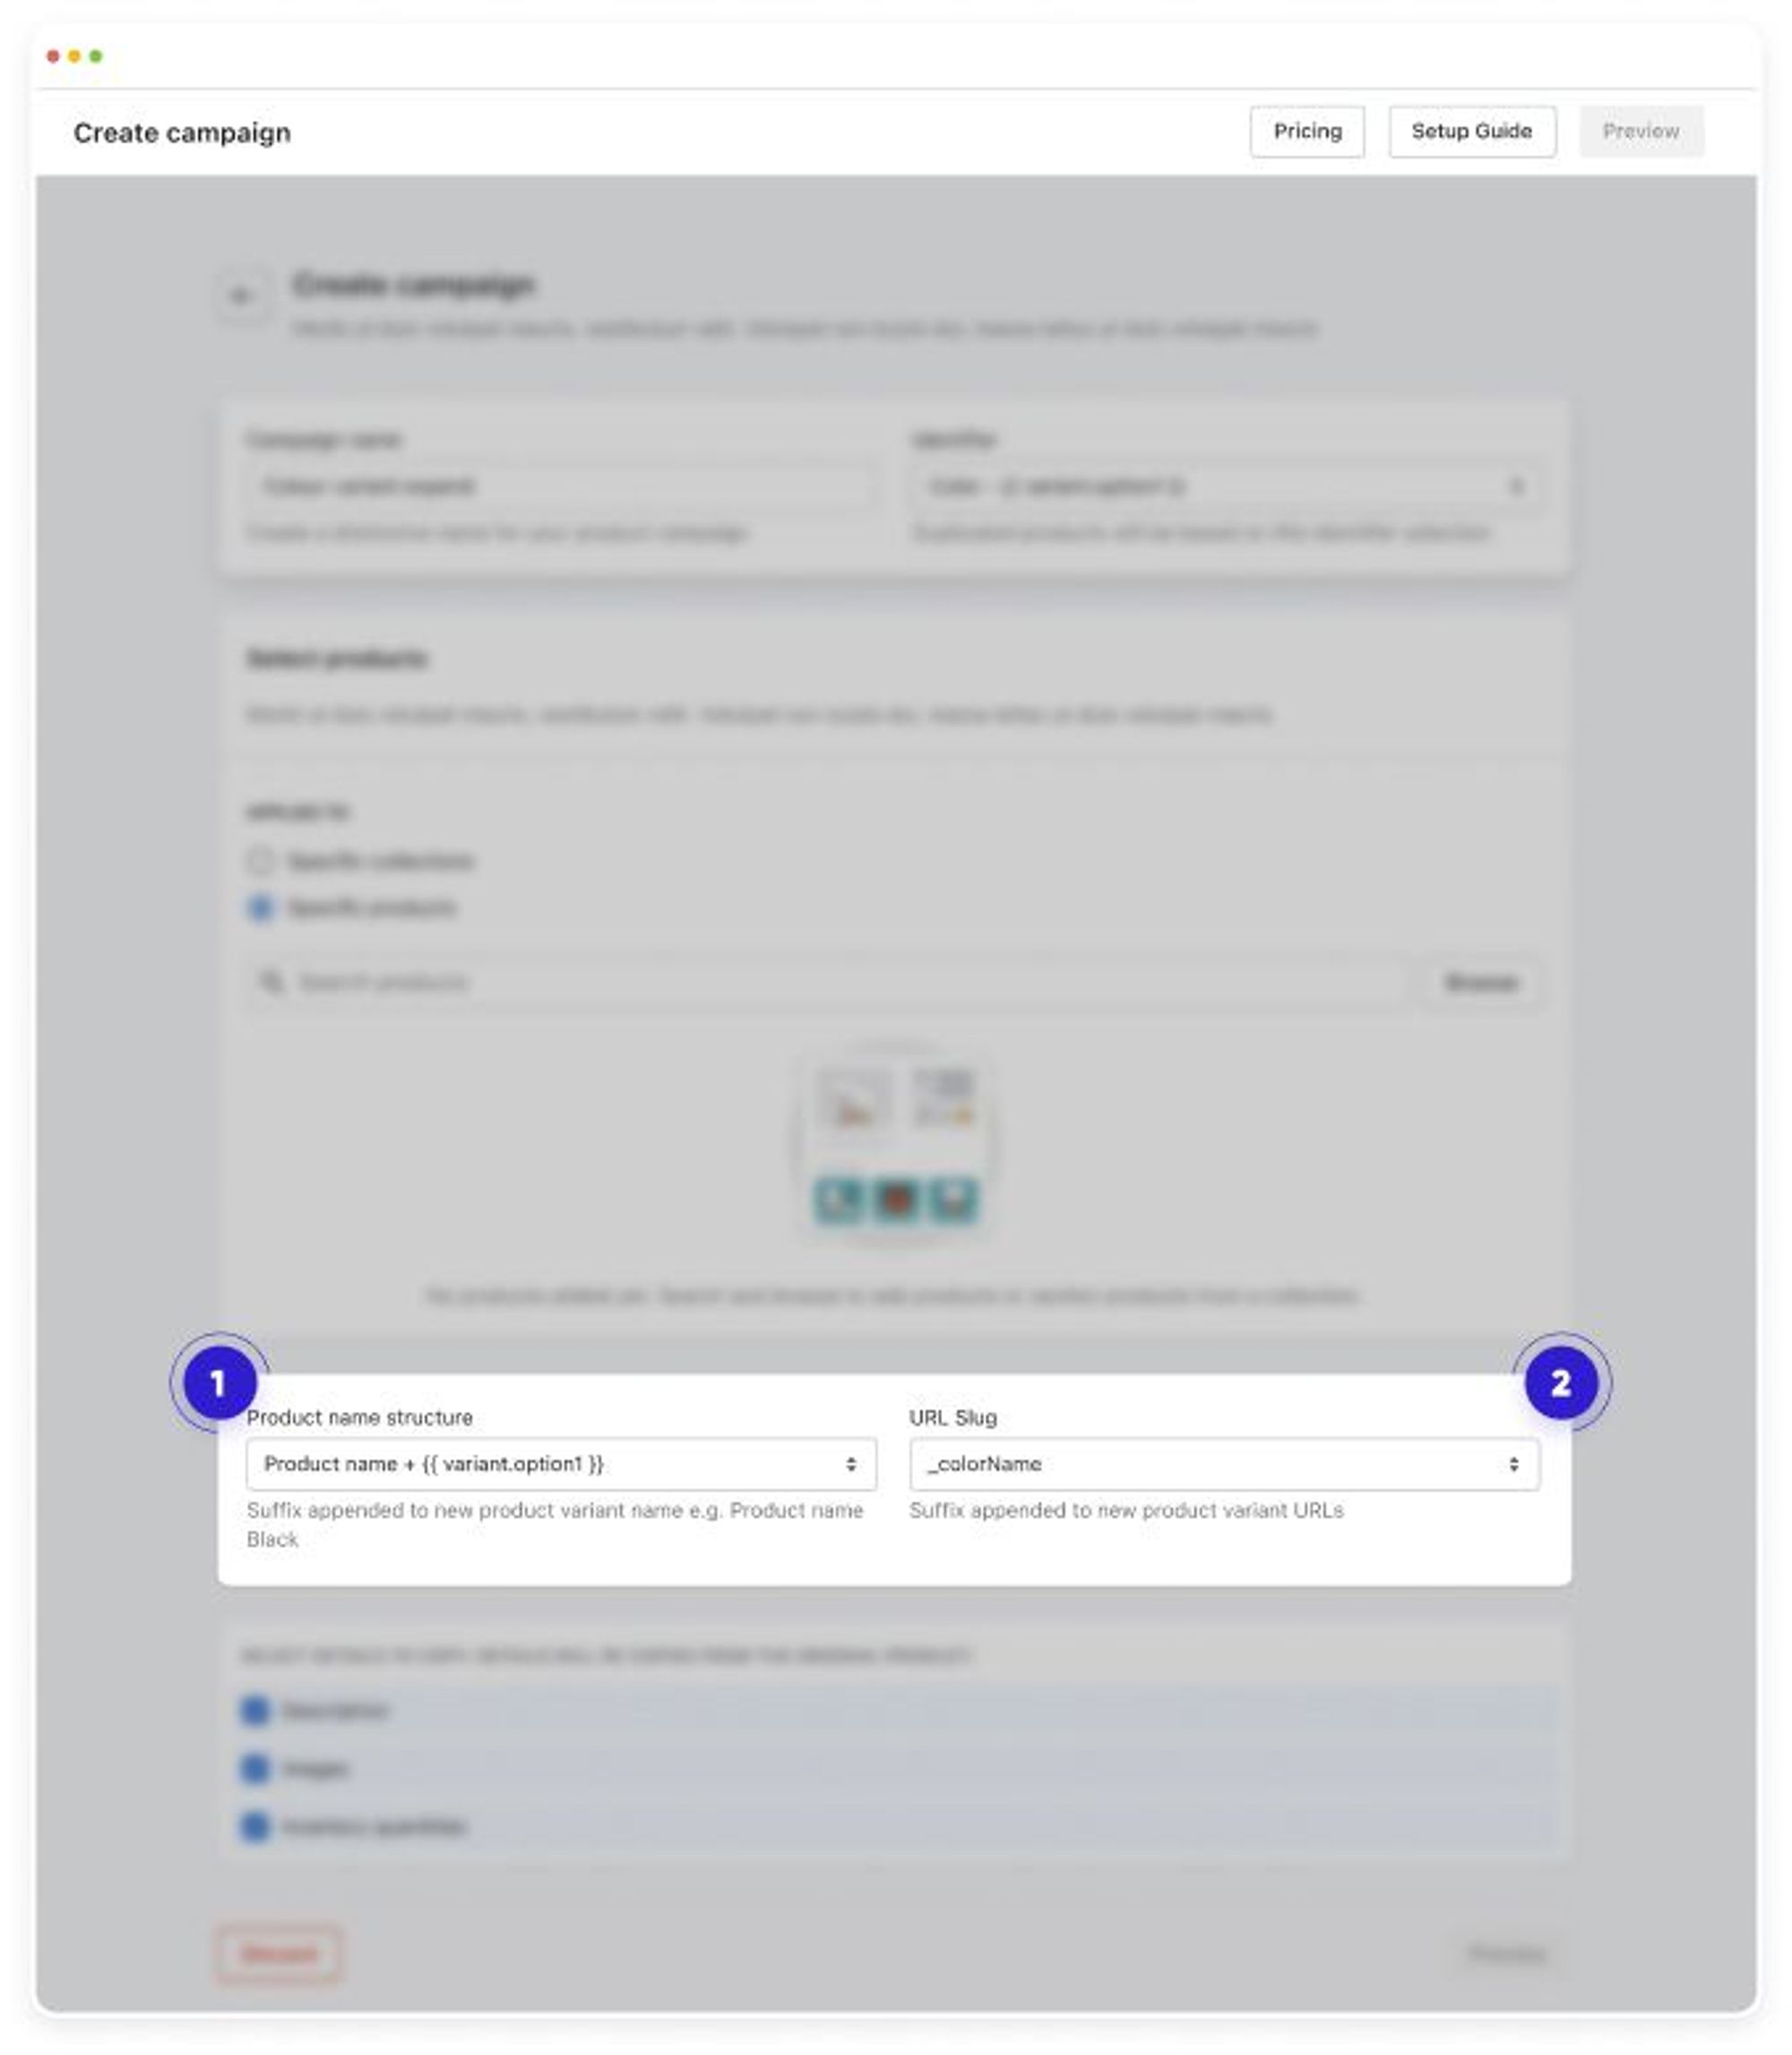
Product name structure
This field lets you specify a unique name for the expanded products, making it easier for customers to identify their desired item.
Example: Consider a parent product named "T-Shirt" with 5 color variants - Black, Blue, Red, Yellow, and White. The original product title is "T-Shirt". Using the format {{product_title}}-{{variant_option}} in this case will result in the following product titles after expansion: "T-Shirt - Black", "T-Shirt - Blue", "T-Shirt - Red", "T-Shirt - Yellow", "T-Shirt - White".
Note: It is recommended to utilize the product naming convention to avoid any duplicate content on your store.
URL Slug
Use {{variant_option}} for the variant value in the URL.
Similar to the product name structure, the URL Slug field lets you control the URL format for newly expanded products.
Example: Parent product "T-Shirt" with original URL slug /products/t-shirt. If you use -{{variant_option}} as URL slug, the result will be /products/t-shirt-black.
Step 5: Selecting details for copying to the newest expanded products
Images When checked, the app will copy the right variant image or video from the parent product into the target child product.
Inventory quantities When checked, the app will copy the inventory quantity information of the variant from the parent product into the target child product.
Description If checked, the app will transfer the parent product's description to the child products. If not checked, the description will be left empty and will not be copied to the expanded products.
Price When checked, the app will copy the price information, including compare at the price information of the variant from the parent product to the target child product.
Was this article helpful?
Have more questions? Submit a request